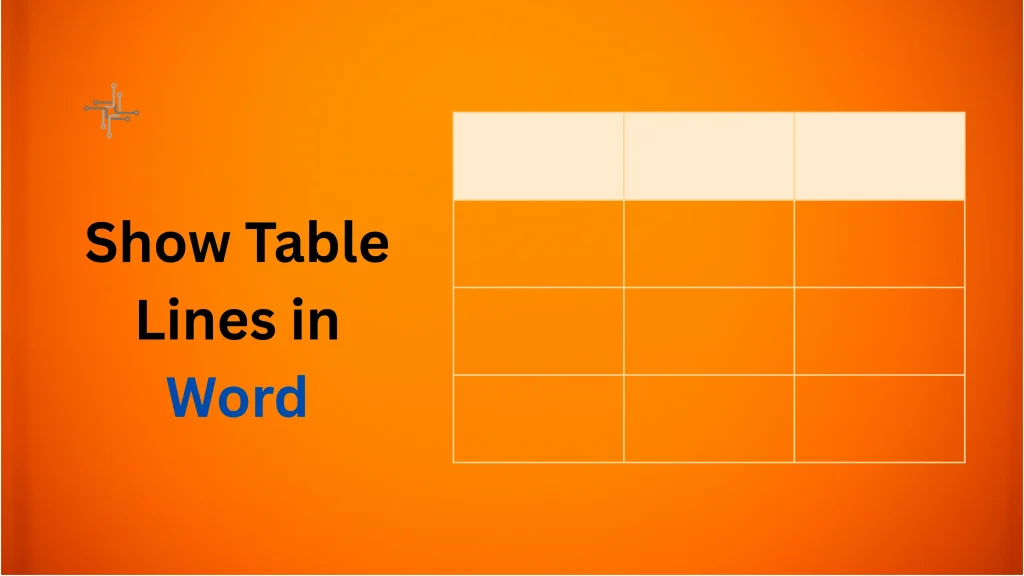
Table lines help you see the structure of a table in Word. These lines show where each row and column is. Sometimes, you may not see the lines if borders are hidden or gridlines are turned off. This can make it hard to work with tables. To make your table easier to read or edit, it’s helpful to turn the lines back on.
You can show table lines using a few simple steps. Go to the “Table Design” or “Layout” tab and look for options like “Borders” or “View Gridlines.” Clicking these will make the lines appear again. Whether you’re working on a report or a form, seeing the table lines helps you stay organized. It also helps you format everything neatly.
Table of Contents
Why Table Lines Are Important
Table lines help you see the structure of your table. They show the separation between rows and columns. This makes it easier to understand the layout and follow the content. Without these lines, your table may look plain or unclear, especially if it holds a lot of data.
When table lines are visible, your document looks more organized. Each cell becomes easy to spot, and the text doesn’t blend together. This is useful when working with schedules, forms, or any data that needs to be grouped. It keeps your work tidy and professional.
Clear table lines also help others understand your document quickly. If you’re sharing the file with someone, visible lines make it easier for them to read and use the information. It avoids confusion and saves time.
Whether you’re editing or presenting a Word file, showing table lines gives structure and clarity. It’s a small step that makes a big difference in how your document looks and works.
Steps to Show Table Lines in Word
1. Select the Table
Click anywhere inside your table to begin. This tells Word that you want to work with the table. When you do this, two extra tabs—”Table Design” and “Layout”—will appear at the top of the screen. These tabs give you all the tools you need to change the look of your table.
2. Use the Borders Option
Go to the “Table Design” tab at the top. Find the “Borders” button, usually marked with a box icon. Click it to open a list of border styles. Select “All Borders” to show lines around every cell in the table. This makes the table structure clear and easy to follow.
3. Turn On Gridlines (If Needed)
If your table still doesn’t show lines, switch to the “Layout” tab. Look for the “View Gridlines” button and click it once. Gridlines are light lines that help you see the table layout while editing. They’re helpful when borders are turned off.
4. Result
Once you’ve done these steps, your table lines should now be visible. You’ll see clear lines between all rows and columns. This makes editing and reading your table much easier, especially in larger documents.
Customizing Table Lines
1. Change Line Style and Thickness
Click inside your table, then go to the “Table Design” tab. Look for options like “Borders”, “Line Style”, and “Line Weight.” You can choose dotted, dashed, or solid lines. You can also change how thick the lines are. This helps make your table stand out or look more formal.
2. Pick a Border Color
Still in the “Table Design” tab, find the “Pen Color” option. Click it to choose a new color for your table lines. This is useful if you want to match your table to your document’s color theme or make it easier to read.
3. Apply Borders to Specific Areas
You don’t have to change every line in the table. Select just one cell, a row, or a column. Then apply the new border style or color only to that part. This gives your table a custom look without changing the whole thing.
4. Use the Draw Table Tool
For more control, use the “Draw Table” tool. This lets you manually draw or change lines in the table. You can draw new lines or erase unwanted ones. It’s helpful for complex tables or unique designs.
Troubleshooting Common Issues
Table Lines Are Not Showing
Sometimes, table lines may not appear even though the table is there. This usually happens when the borders are turned off. Click inside the table, go to the “Table Design” tab, and select “All Borders” from the “Borders” dropdown. This will make the lines visible again.
Gridlines Are Missing
If you don’t see the light dotted lines while editing, gridlines might be turned off. Go to the “Layout” tab under Table Tools and click “View Gridlines.” Remember, gridlines don’t show up when printed—they’re just for editing.
Lines Are Too Light or Hard to See
If the lines are too thin or faint, they might be using a light color or thin weight. Go to the “Table Design” tab, choose a darker “Pen Color,” and select a thicker “Line Weight.” This makes the lines more visible on screen and in print.
Lines Disappear After Formatting
After pasting or formatting, borders can sometimes get removed. Reapply them by selecting the table and using the “Borders” option again. Double-check the print preview to make sure the lines still show up the way you want.
Best Practices for Table Management in Word
Keep Tables Simple and Organized
When creating a table, keep it simple. Avoid overcrowding the table with too much information. Break larger tables into smaller, more manageable parts if needed. This makes it easier to read and prevents the table from looking cluttered.
Use Consistent Formatting
Make sure your table has a consistent style. Use the same font, size, and alignment for all the text inside the table. This ensures that your table looks neat and professional. You can apply styles through the “Table Design” tab for easy formatting.
Adjust Column and Row Sizes
Make sure your rows and columns are the right size for the content they hold. Don’t let text spill over the borders, and avoid having too much empty space. You can adjust the size by dragging the edges of rows and columns or using the “AutoFit” options in the “Layout” tab.
Align Data Properly
Align your data for clarity. Numbers are typically aligned to the right, while text is aligned to the left. This improves readability and makes your table more professional. Use the “Align” options in the “Layout” tab to position data correctly.
Use Header Rows for Easy Navigation
For tables with multiple rows, always use a header row. This helps readers know what each column represents. You can repeat the header row on every page if the table is long. Simply check the “Repeat Header Rows” option under the “Layout” tab.
Conclusion
Showing table lines in Word is a simple process that can improve the readability and structure of your document. By using the “Table Design” and “Layout” tabs, you can easily make table lines visible or adjust them to your liking.
Clear table lines help organize your data and ensure it looks professional. Whether you’re working with gridlines or borders, these steps can make editing and presenting your tables easier. Always remember to adjust line styles, colors, and thickness to match the overall look of your document.